How to Paint the Mona Lisa
Continuing on with intro to coding, I wanted to show some randomisation related to an identifiable image. The Mona Lisa is supposed to be one of the most well recognized pieces of western art so I thought that might be a good place to begin.
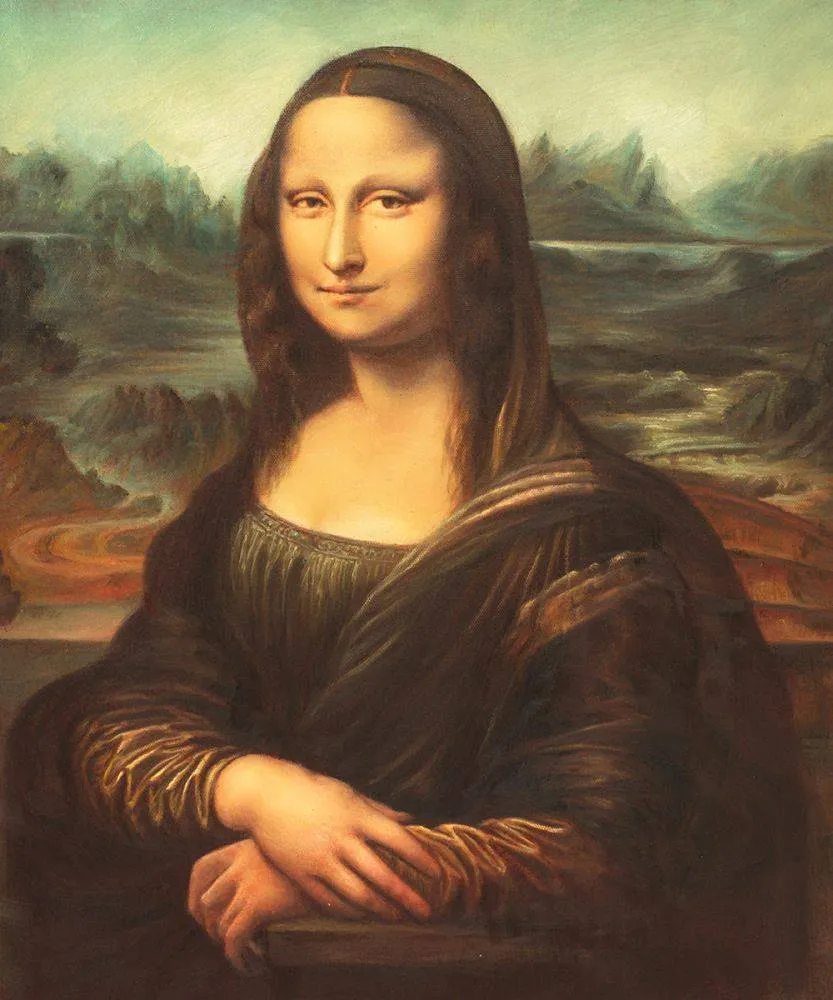
This version was the first result from my image search which happened to be small but still recognisable with enough detail. All the way through this set of exercises, we won't be drawing the original image, we will always have it memory as a reference and paint onto the screen a modified represenation.
No Functions
Note: Before getting into the rest of the is post, the no-function version of the this concept is as below. The code is easier for a beginner to understand and follow through the idea of x and y coordinates.
size(800, 1000)
art = loadImage("mona-lisa.jpg")
# show the plain image
#image(art, 0, 0, width, height)

noStroke()
background(255, 255, 255)

pixel_size = 5

for x in range(0, art.width, pixel_size):
    for y in range(0, art.height, pixel_size):
        pixel = art.get(x, y)
        fill(pixel)
        rect(x, y, pixel_size, pixel_size)
        # or
        #circle(x, y, pixel_size)
        # or
        #triangle(x + (pixel_size / 2), y, x, y + pixel_size, x + pixel_size, y + pixel_size)

saveFrame("mona.png")
Once the shapes are worked out, we can change up the size of pixels and change the shape of the pixels to circles or triangles. This also helps with understanding what happens with the structure of the code.
Flipping Marvellous
An entertaining further step to take before we start "destroying" the image, is to flip the image around by changing where we sample from in the image. If we keep the loop the same but sample from the right side of the image working towards the left, we can flip the image along the vertical axis. If we read from the bottom upwards we can flip the image along the horizontal axis and make it upside down. If we do both, we can reverse the image on both axes.
size(800, 1000)
art = loadImage("mona-lisa.jpg")
# show the plain image
#image(art, 0, 0, width, height)

noStroke()
background(255, 255, 255)

pixel_size = 5

for x in range(0, art.width, pixel_size):
    for y in range(0, art.height, pixel_size):
        # original
        #pixel = art.get(x, y)
        # flip left and right
        #pixel = art.get(art.width - x, y)
        # upside down
        pixel = art.get(x, art.height - y)
        fill(pixel)
        rect(x, y, pixel_size, pixel_size)

saveFrame("mona.png")
Ta-da, an original/fake artwork. Now to the function-based version
Loading ...
First, we'll use processing to load the image into memory (remembering to copy the original image into the sketch folder). We also set the background to be white and make sure that noStroke is called so that we don't draw any boxes around our pixels.
def setup():
  global art
  art = loadImage('mona-lisa.jpg')
  fullScreen()
  colorMode(HSB, 255)
  ellipseMode(CORNER)
  background(255, 255, 255)
  noStroke()
At this point we don't expect to see anything on the screen at all if we press "run".
Random Pixels
Next, we'd like to fill in the picture bit by bit by sampling the original image at random locations and painting some larger squares using the colour of the pixel at those random locations.
def draw_random_point():
  global art
  x = int(random(art.width))
  y = int(random(art.height))
  colour = art.get(x, y)
  fill(colour)
  rect(x, y, 10, 10)

def draw():
  for i in range (0, 25):
    draw_random_point()
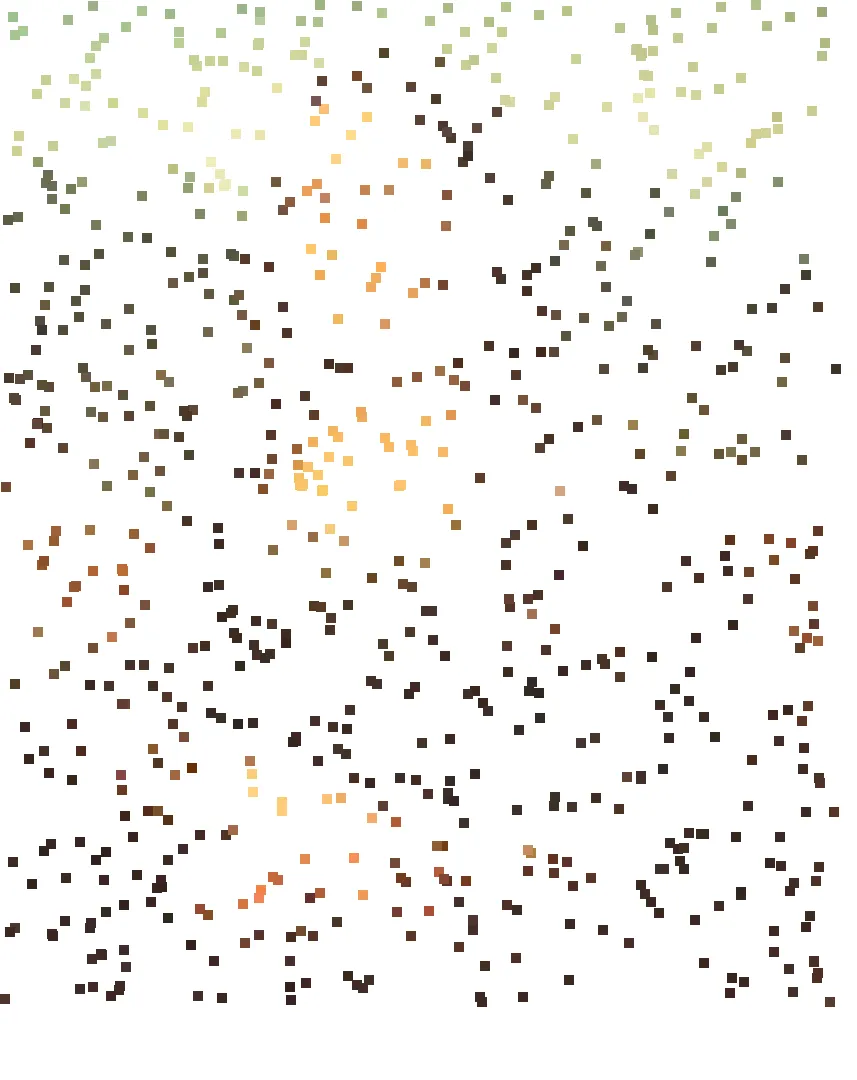
The familiar image gradually appears as we let the process progress.
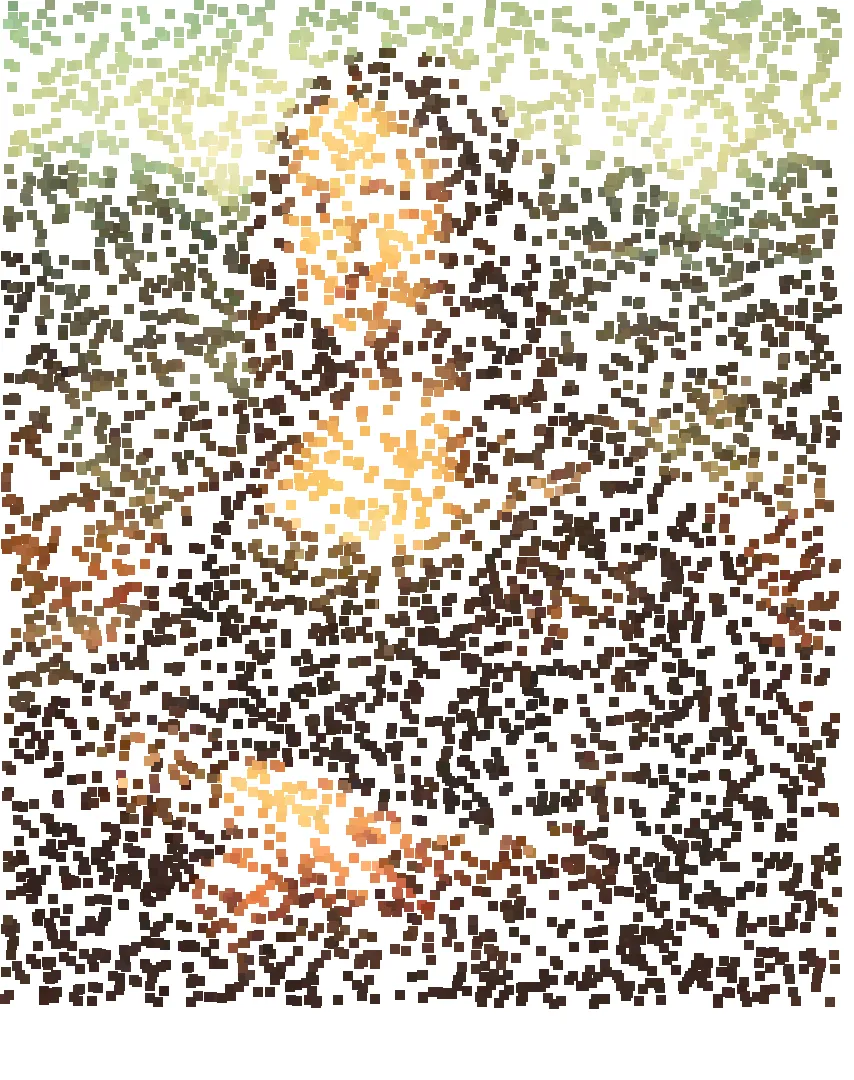
I found making the pixel size 10 to be a good compromise between fidelity to the original image and speed of the image appearing from what looks like random noise to begin with.
There is a sort of disturbing quality to the picture constantly fluctuating as the image is built and fills out, particularly around the face and especially the eyes.
Pixelation
Another approach might be rendering the image all at once, without the random factor to it but keeping some aspects of pixelation to the image. We can then play with some other parts of the image.
Sticking with the same setup function, we need to do something different when we are drawing and a different processing function.
This time, the processing function, pixelate, works across the image and down in rows, sampling a pixel and then filling a larger version of that pixel in the screen image.
def pixelate(pixel_size):
  ratio = art.height / art.width if art.width < art.height else art.width / art.height
  pixel_height = int(pixel_size * ratio)

  # noStroke()

  for x in range(0, art.width, pixel_size):
    for y in range(0, art.height, pixel_height):
      fill(art.get(x, y))
      rect(x, y, pixel_size, pixel_height)


def draw():
  background(255, 255, 255)
  pixelate(25)
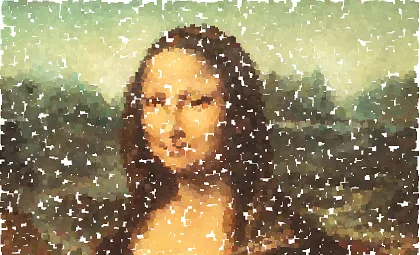
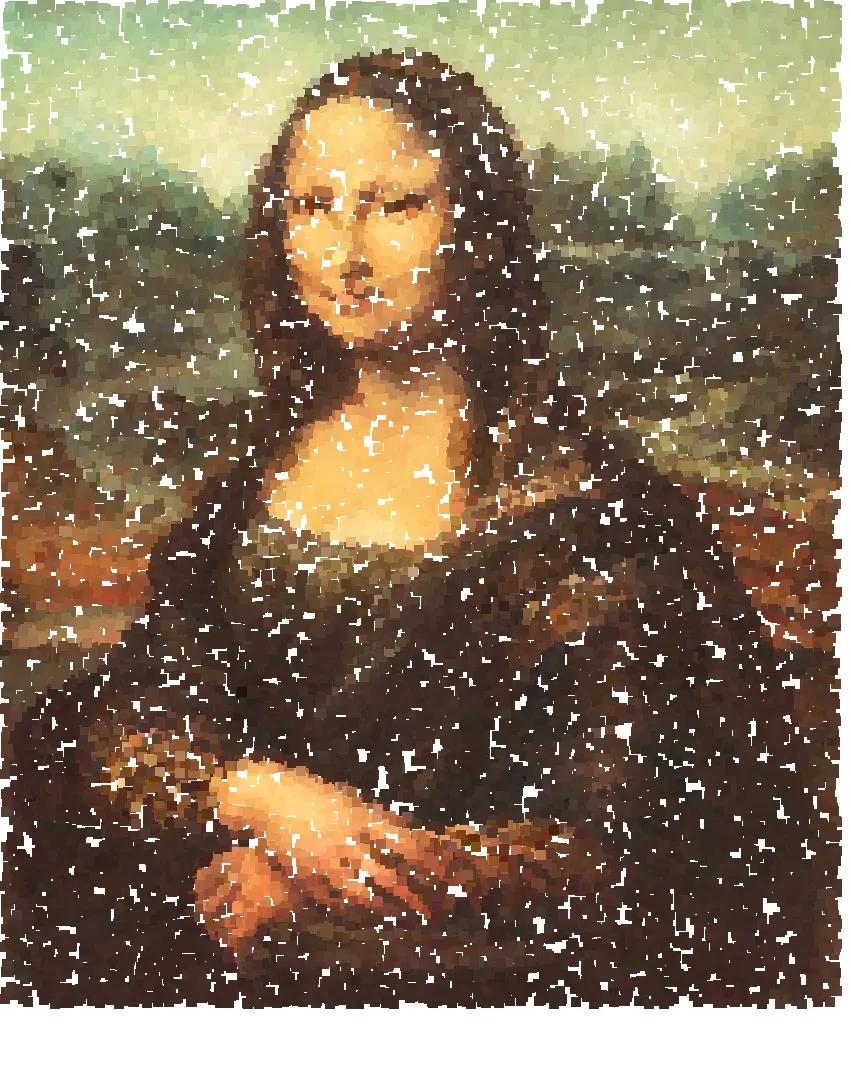
I have experimented witht the noStroke function to see what the difference was between including it and commenting it out. First with boxes around each "pixel":

And without boxes:
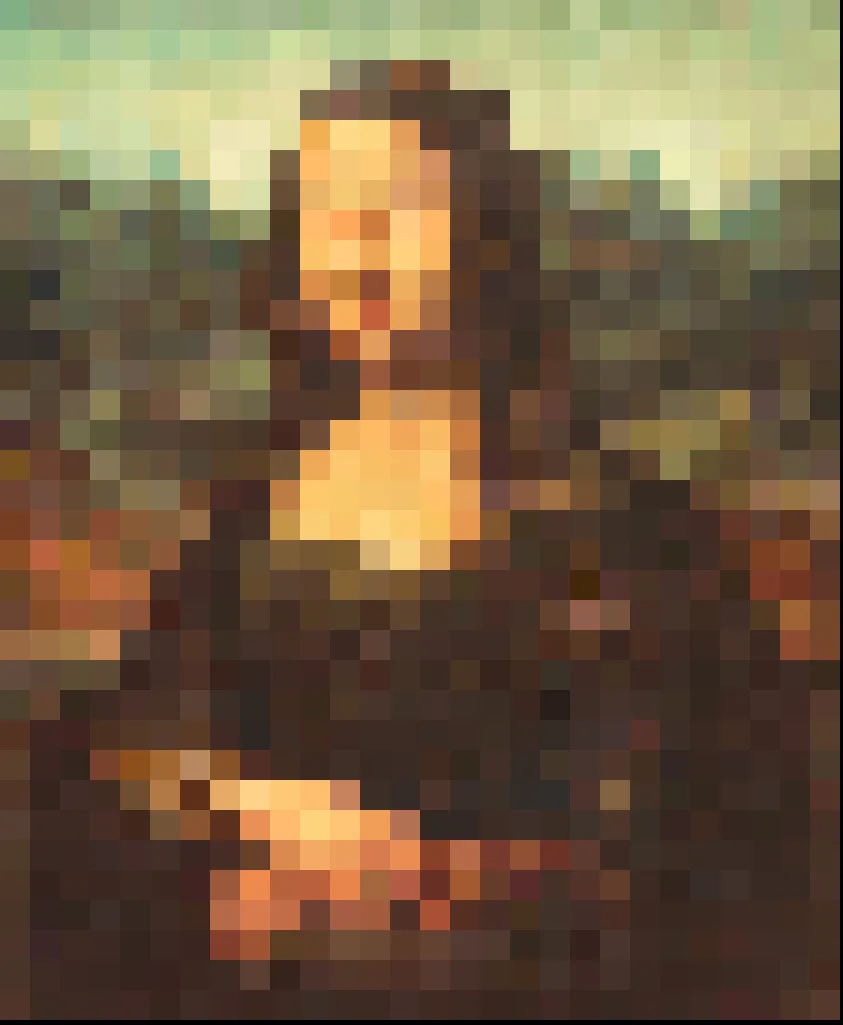
I think both have interesting qualities but I think as you go down in resolution, then having boxes around each pixel makes for a less well defined image, even taking into account the pixelation.
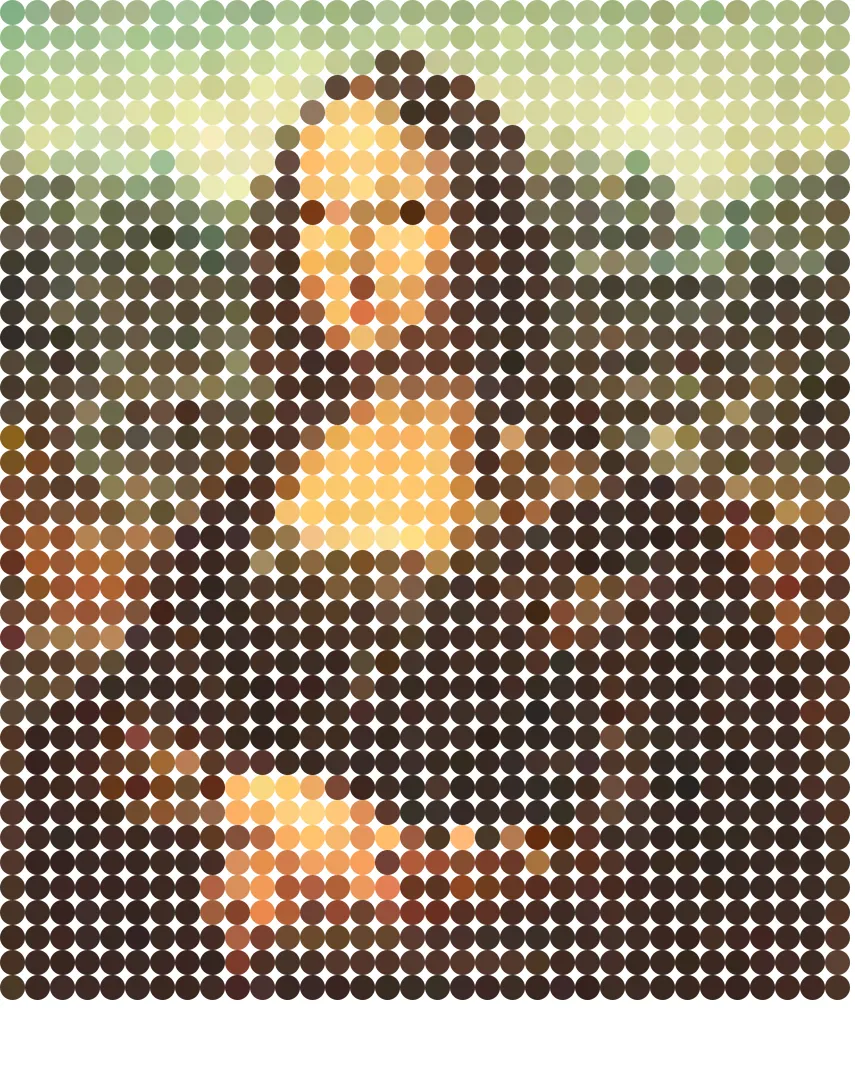
Circles
Of course, pixelation doesn't have to be restricted to squares, we can use circles if we want to by replacing the call to rect() with circle()
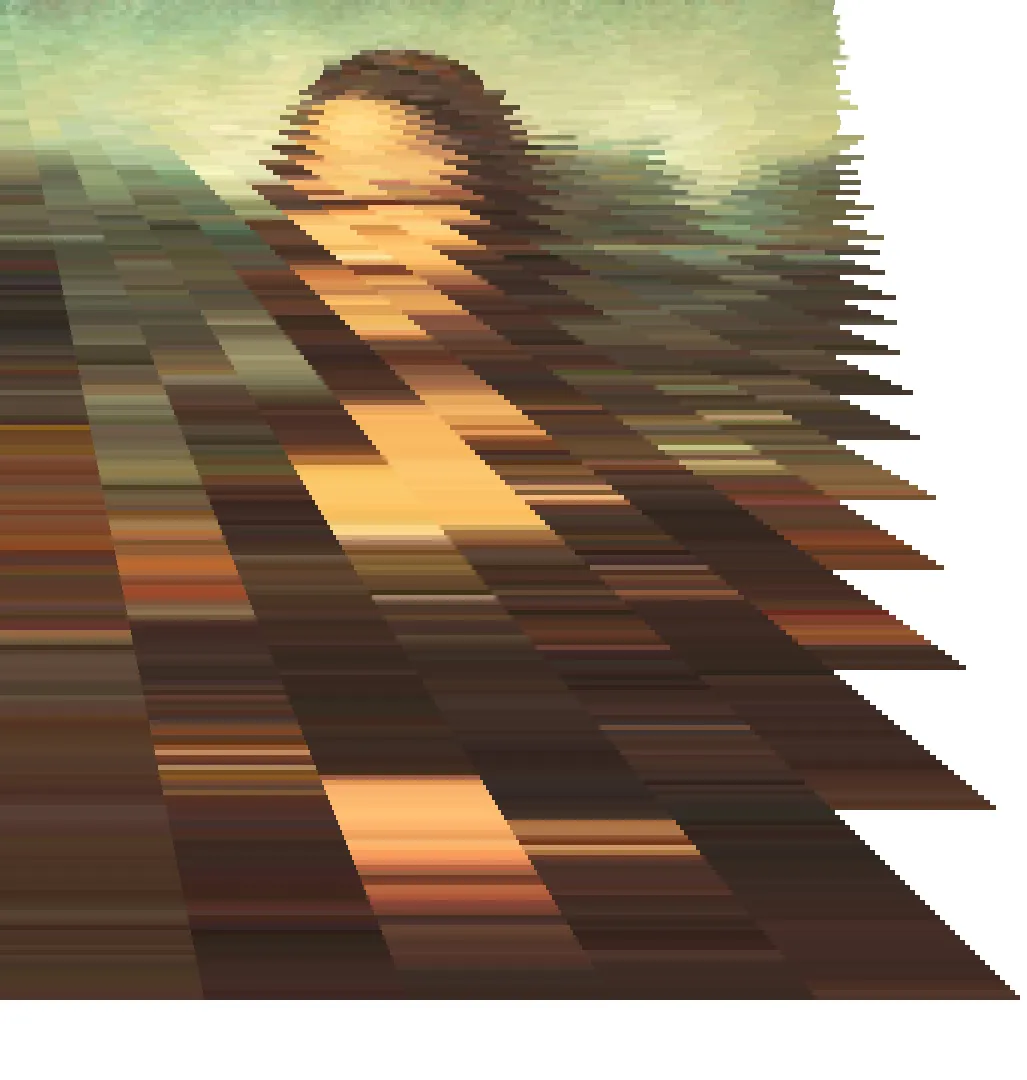
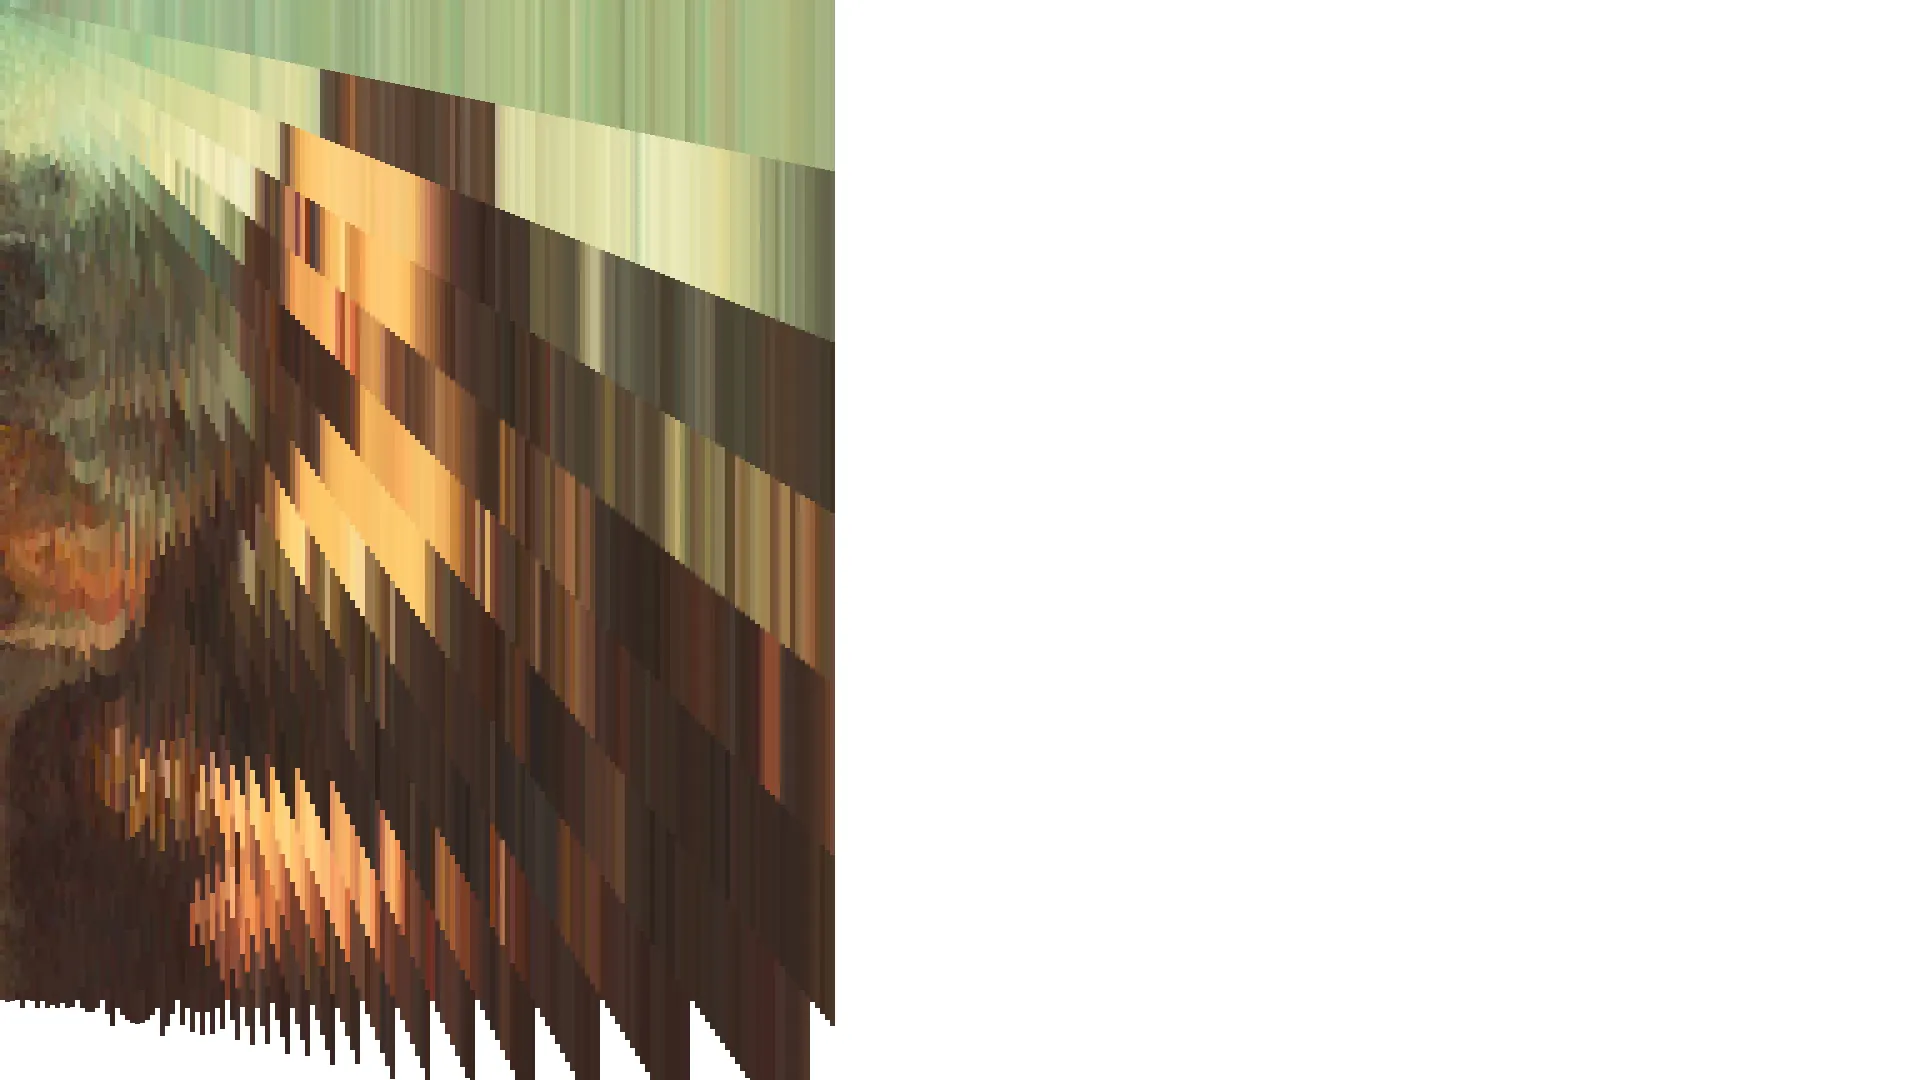
Offsets
We can also almost destroy the image but messing about with the pixel dimensions when we are rendering. For example, if we increase the pixel height on each column to get this:
Or if we switch the order of the for loops around in the pixelate function, so that we work from y first, then x, and modify pixel_size instaead of pixel_height.