
Building a sketchbook
Book making and bookbinding is a skill I knew nothing about but find fascinating so I thought I would have a go at building a cheap and cheerful A5 sketchbook with a cover. Here's how I did it.
Find some paper. The internals of the book is paper, of course.
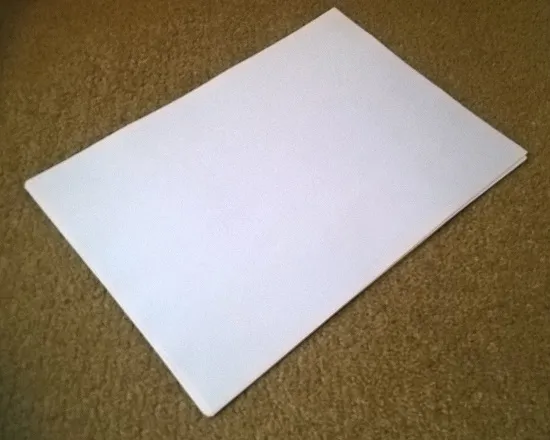
For A5 format, I folded 20 sheets of A4 in half to form a set of nested pages.
In book binding terms this is called a signature. I am only making a simple sketchbook so I am only going to use one signature. If you use more, the book will be thicker but you then need to start investigating sewing and binding techniques. That's another project for me.

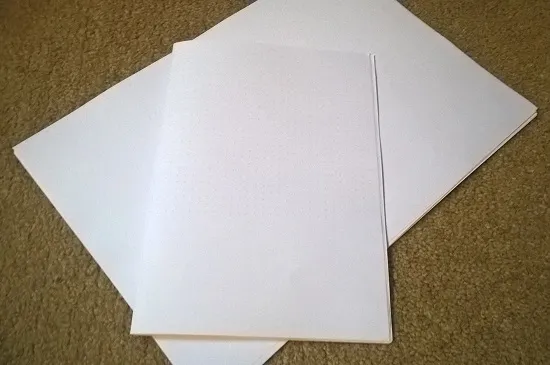
Notice how the pages don't fit together perfectly, one inside the other. They sort of bulge out more as you go towards the centre. The more pages you have in a signature, the worse this gets. Don't worry, we'll fix this in a little while.
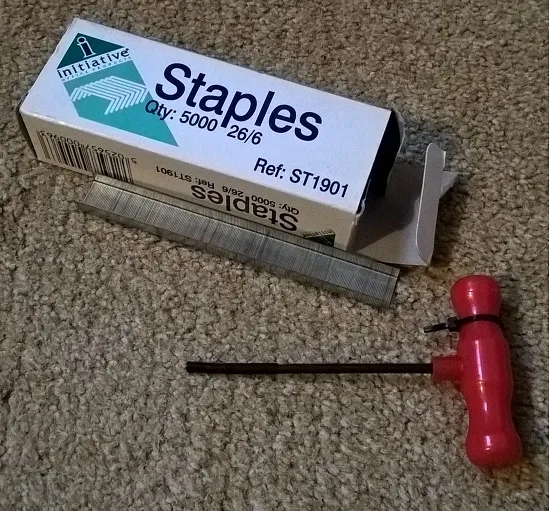
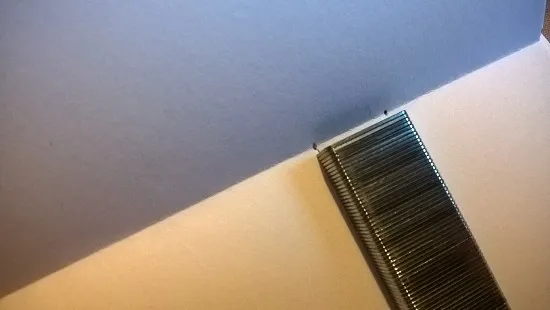
Once you have a signature, we need to assemble some tools. Some staples to keep the pages together and something to make holes for the staples because a standard stapler isn't built to work with this thickness of paper or where the holes are required to be.
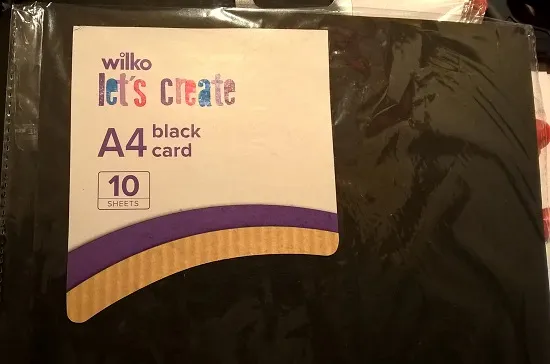
We also need a cover for the sketchbook. Wilkinsons sell 10 sheets of black card that's thick enough for our purposes and it costs around £1.25 a pack.
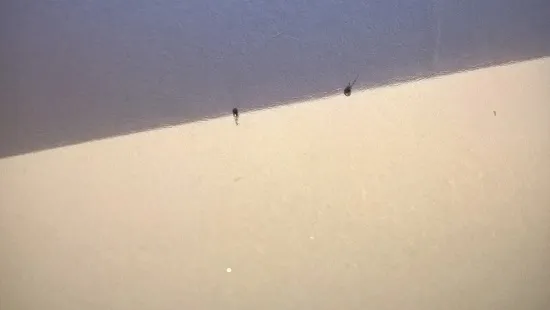
Mark the positions of the staples. Measure in from the outer edges of the sketchbook about an inch and make a pencil mark on the inner sheet of paper at the fold. Use the staples as a guide to mark a second hole so that both sets of pencil marks show where you need to puncture through all the paper and through the cover.
Use your tool of choice, bradawl or whatever, to make holes in the paper from the inner sheet to the outer in all four places. Be careful to keep all the sheets aligned so that the staples will fit correctly with no misplaced sheets.
Fold the A4 cover sheet in half and wrap it around the signature. Make four holes in the cover to line up with the holes in the signature.
Fit the staples through the four holes at top and bottom, from the outside cover into the book.
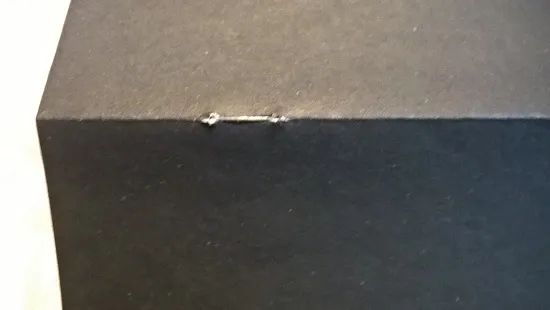
Bend the ends of the staples to keep the book together.
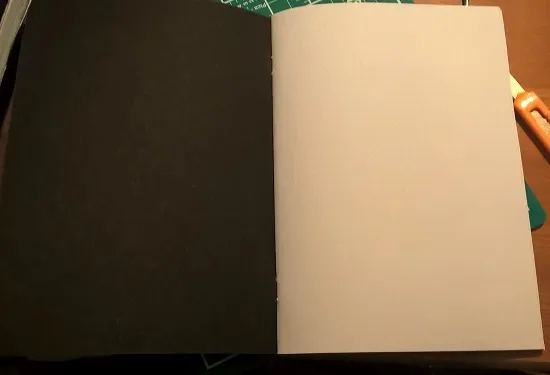
The book should now look something like this, it should open and close freely.
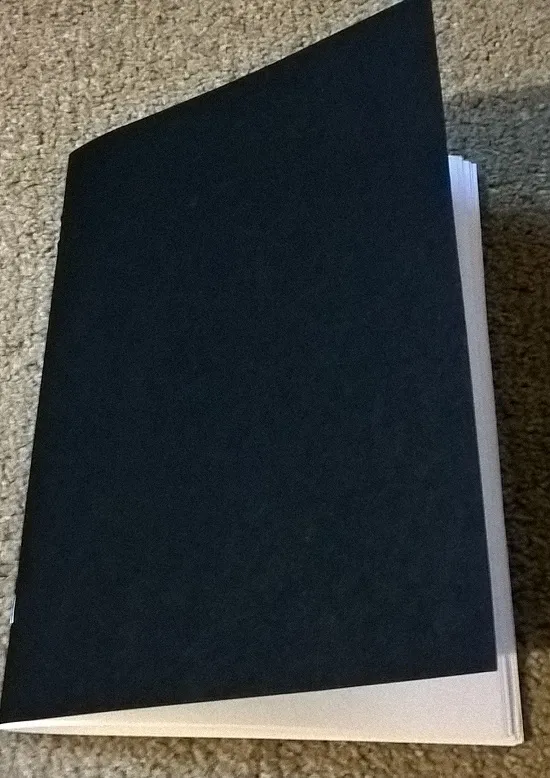
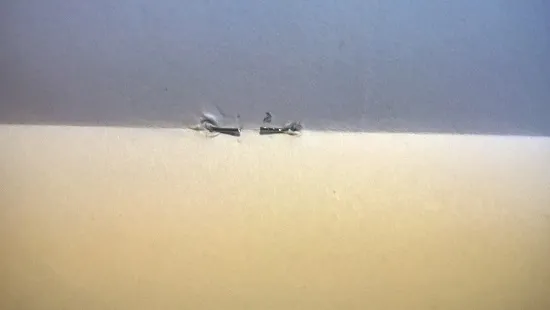
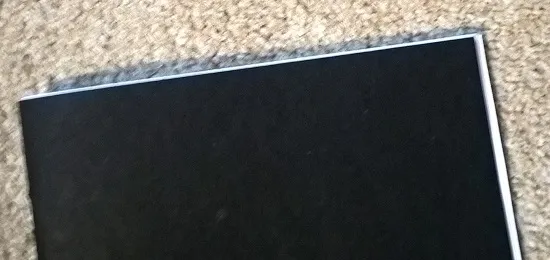
On close inspection, you will see that where the sheets of paper have been nested inside one another, the edges of the book are not aligned and go out in a kind of v-shape. This needs to be trimmed down.
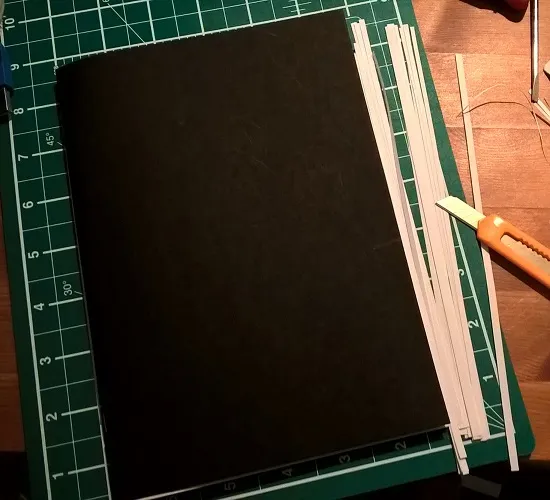
Use a cutting mat and a sharp craft knife to trim the edges of the inner pages to line up with the outer most pages and the cover. This might also apply to the top and bottom of the sheets, depending on the relative sizes of the paper and the outer cover.
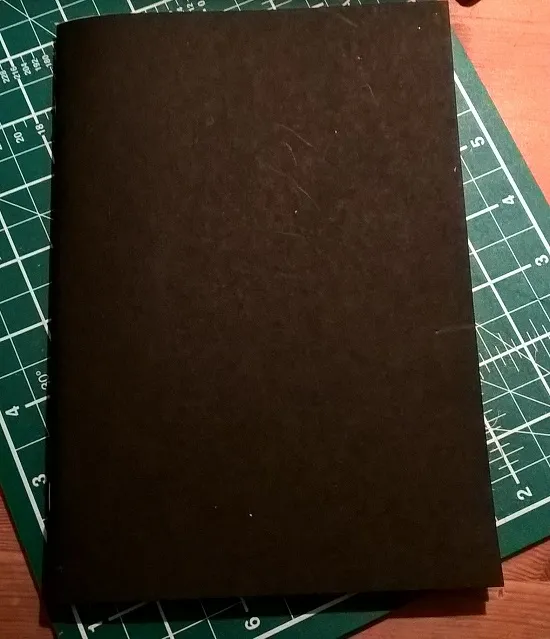
Your book should now close with no pages sticking out.
Prior Art
Two interesting commercially available notebooks are field notes which is 3.5 inch x 5.5 inch (89mm x 140mm), 48 pages with a 5mm grid. The other is baron fig vanguard which is 72 pages, dot gridded on 5 mm pitch and measures 5.4 inches x 7.7 inches.
Coming Soon
Now I have a good idea of how this basic version works, I may try some more elaborate designs and builds for other sketchbooks. Watch this space.