Building C++ for the BBC Micro:bit
In the last 12-18 months of coding for the BBC micro:bit I tended to shy away from the block-based, Scratch-like environments and have always used what I thought of as the most developer-y option - MicroPython. This worked very well for teaching but I began to notice a few of the features available in the platform were not available through the MicroPython libraries, most notably Bluetooth. The reason given is that the micro:bit has 16k of RAM but the Bluetooh LE stack would use up 12k of that, leaving no room to load MicroPython.
C++
A thing that gets missed (or glossed over) in a lot of discussions about the micro:bit
is that it is an ARM-based machine and therefore a traditional language for low
level systems programming like C (and C++) should be an appropriate alternative. Luckily,
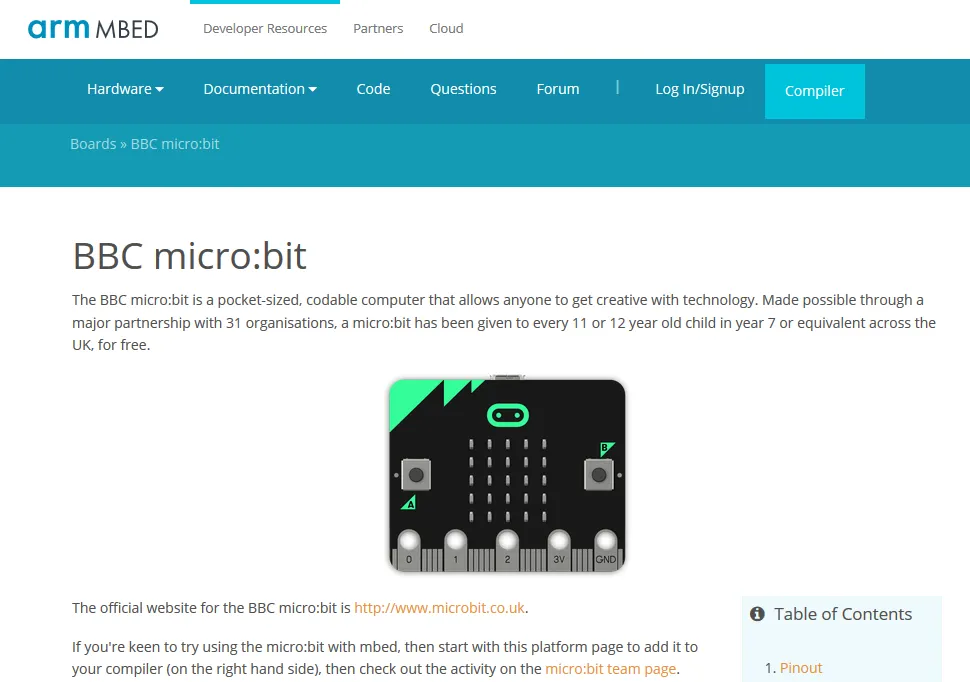
the mbed compiler is an online
C/C++ development environment which is free to use and officially
supports the BBC micro:bit as a platform.
 )
)
Getting Started
To get started:
- Create an account on mbed.
- Add the microbit as a target to your mbed compiler.
- Open the compiler
- Notice that micro:bit is selected in the top right hand corner.
Hello, MicroBit
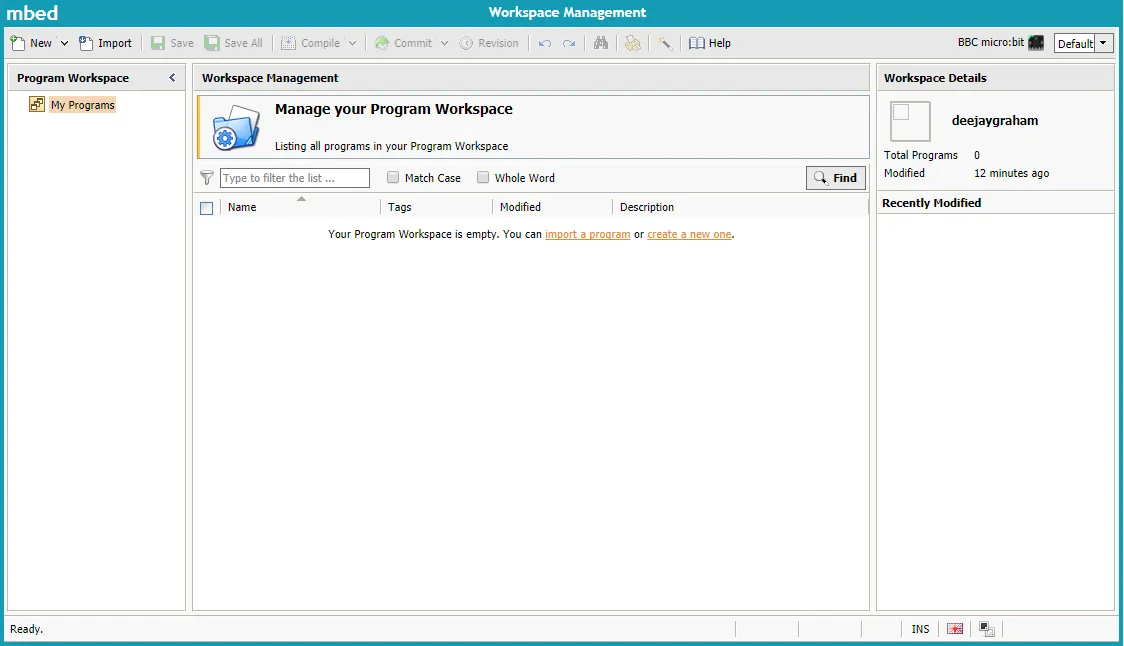
Once that's up an running, it's time to hello a world. In the Workspace Management area, pick the create new program option and fill in the details in the popup.
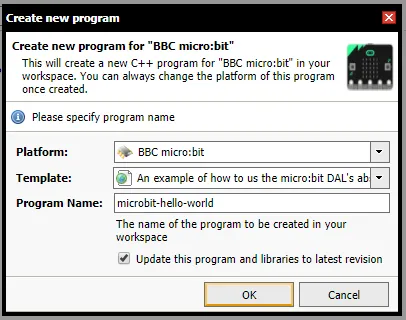
- Confirm the platform is BBC micro:bit
- Select a suitable template
- Name the program
- Click OK
- Wait a few seconds while the project is created.
You should now see something that will be familiar to most users of IDEs with project contents down the left hand side, current program source in the middle and an area for compiler results at the bottom.
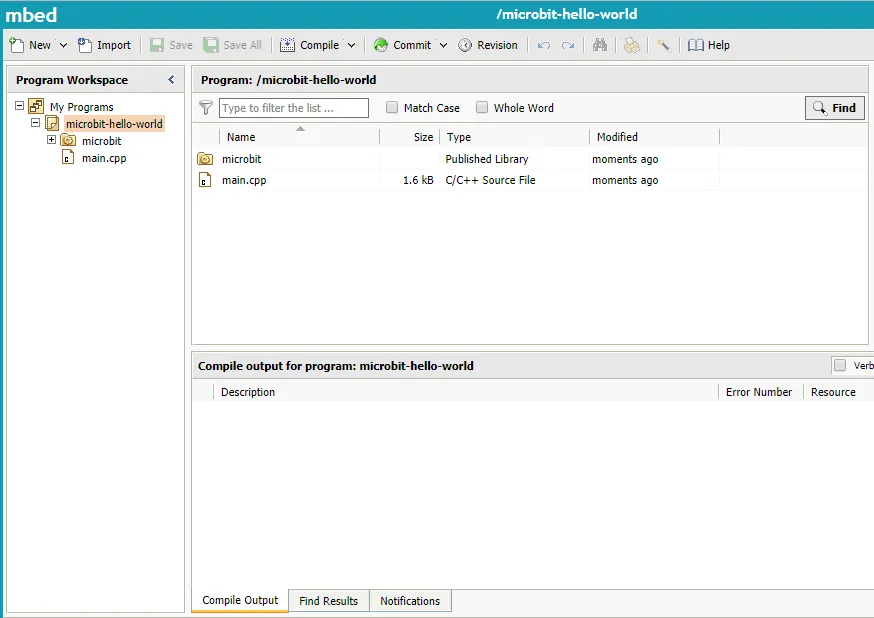
Main
The generated main function looks like this...
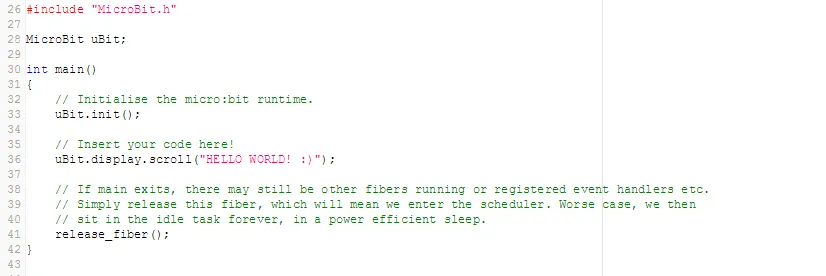
Before we go any further, here's a few things to note about this code.
- An instance of the Microbit class is created outside of the main function.
- First off in main, we need to initialise all the services on the microbit by calling the init method.
- Pieces of functionality or components of the microbit are available as sub-objects of the MicroBit class so displaying a piece of scrolling text is done by calling the scroll method on the display object.
More Fiber
At the end of the code is the mysterious release_fiber call. Fibers are a lightweight equivalent to operating system threads (hence the name) that are used by the micro:bit runtime to allow asynchronous operation.
Releasing a fiber in main is a recommendation from the Lancaster University team as good practice. While it
looks counter-intuitive to the eye of a traditional c++ programmer, it makes sense once you understand
what else is going on.
Ordinarily, a console application-variety main would reach the end, shut down all open resources and close the program. In the micro:bit architecture, the call to release_fiber disassociates the main method from the currently running fibers managed by the micro:bit scheduler and allows the other (possibly hidden) fibers to continue running. Releasing the fiber from main means that main can complete but the program doesn't end - event handlers etc. can still process messages happily in the background. If you omit the call, running off the end of the main method will actually kill the rest of the program and everything will stop.
Building
The top row of buttons in the IDE has a Compile button. Press that to start building the project.

Assuming there are no problems, a .hex file will be created and downloaded by the browser. For a project called "microbit-hello-world" the hex file will be something like "microbit-hello-world_NRF51_MICROBIT.hex" and in my case was 417kb in size.
Running
If you have a micro:bit connected to a USB port, you should be able to drag the .hex file
onto the micro:bit, wait a few seconds for the copy to finish and the program should start running.
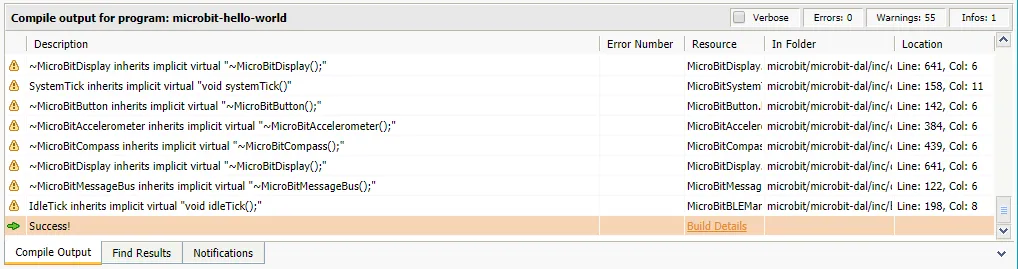
At the time of writing, the simplest hello world application displayed a few warnings in the compiler output.