
Azure subscription management with PowerShell
.PublishSettings
Many techniques for connecting to Azure using PowerShell rely on the .publish settings file. The main disadvantage of this approach is that the file, because it is a tangible object, is likely to get checked into source control and used by anyone with no traceability.
Manual Login
You could force the user to login each time using the Add-AzureAccount command which can get super tedious.
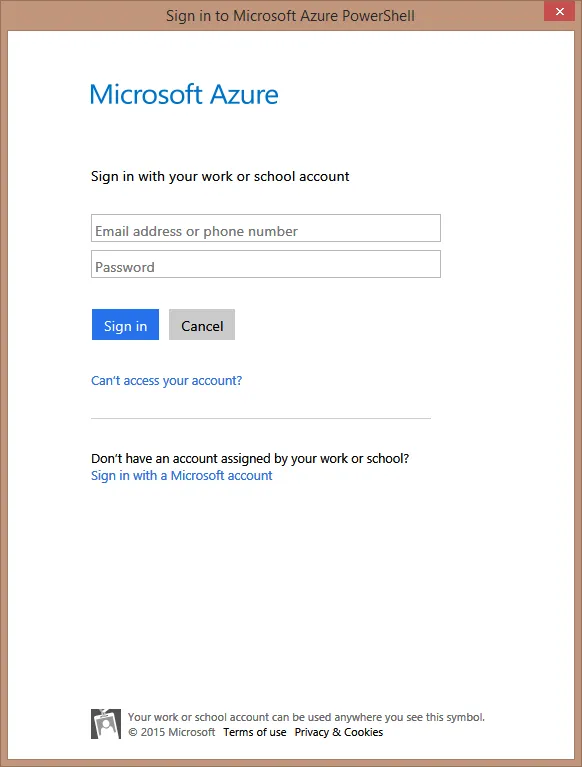
This is fine for occasional tasks that require authentication but no one I know is happy to use this method
Certificates
Luckily, Azure also supports using a self-signed certificate to authenticate PowerShell automation.
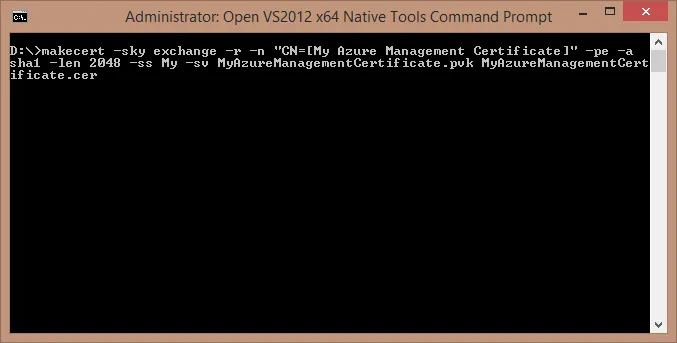
Create a new certificate using the makecert.exe utility
makecert -sky exchange -r -n "CN=[My Azure Management Certificate]"
-pe -a sha1 -len 2048 -ss My
-sv MyAzureManagementCertificate.pvk
MyAzureManagementCertificate.cer
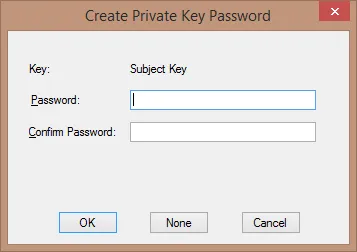
Fill in the password and confirmation at the prompt.
Now, convert the .pvk to a .pfx so we can upload it to Azure.
pvk2pfx –pvk MyAzureManagementCertificate.pvk
–spc MyAzureManagementCertificate.cer
–pfx MyAzureManagementCertificate.pfx
–po ThisIsNotMyPassword
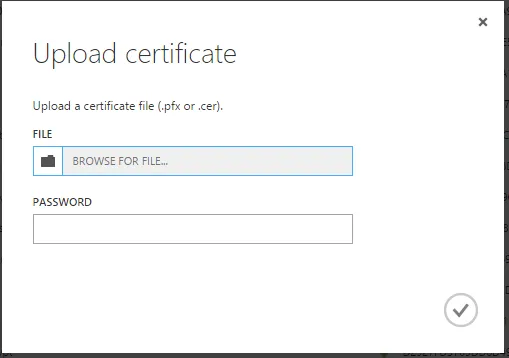
Upload the .pfx to the cloud service using the Azure portal.
Note the certificate thumbprint using PowerShell...
Get-Item Cert:\\CurrentUser\My\*
or, more easily, copy it from the entry in th certificates page of the portal.
Finally, find the certificate using the thumbprint and pass it to Set-AzureSubscription
$SelfCert = Get-Item Cert:\CurrentUser\My\<certificate thumbprint>
Set-AzureSubscription -SubscriptionName "My Subscription"
-SubscriptionId "<from azure portal>"
-Certificate $SelfCert
ActiveDirectory
The final method of authentication is using Azure AD. I haven't had a chance to play with this yet so may write about that at a later time.